Create a User Journey Map in Figma: A Step-by-Step Guide
Learn how to create a user journey map in Figma with our step-by-step guide.
Posted May 15, 2023
Table of Contents
As a UX designer, it's important to always keep your user in mind when creating a product or service. One useful tool for understanding and improving the user's experience is a user journey map. In this article, we will guide you through the process of creating a user journey map using Figma, a popular design tool, step by step. By the end of this article, you will have the knowledge and skills to create an effective user journey map to enhance your UX design.
What is a User Journey Map?
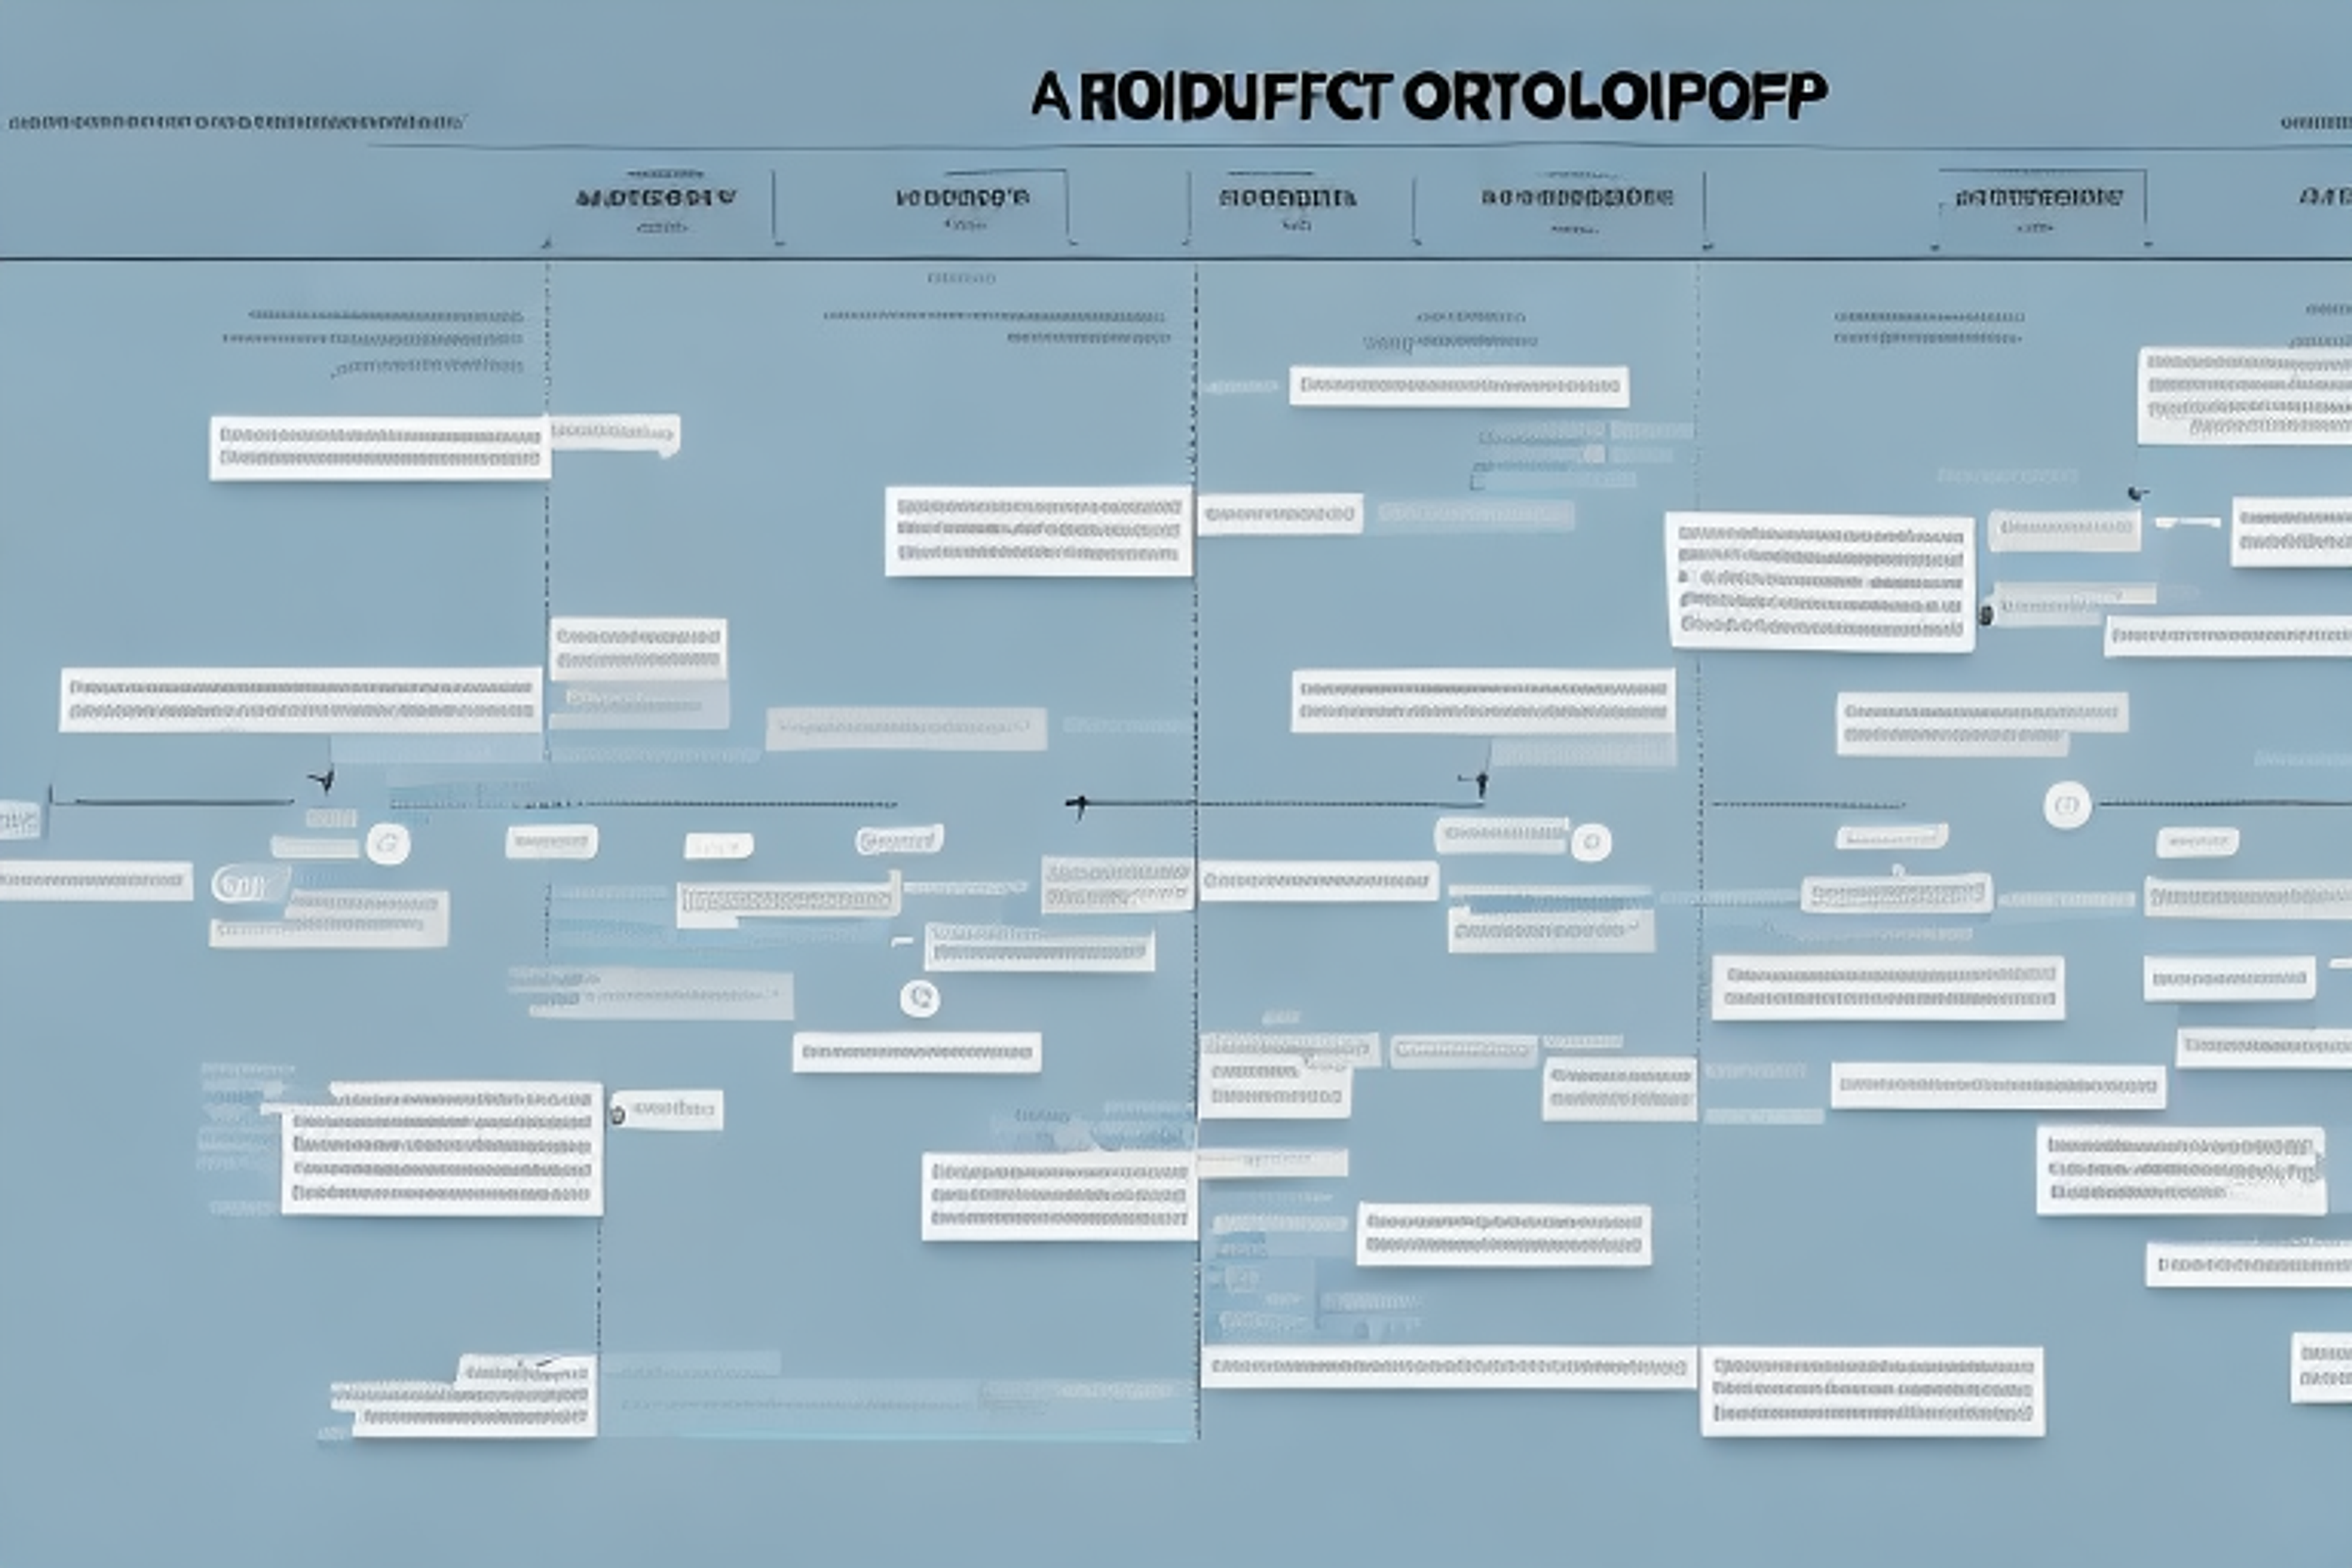
A user journey map is a visual representation of the user's experience when interacting with a product or service. It illustrates the user's thoughts, feelings, and actions from the moment they become aware of the product or service, through the process of purchasing, using, and ultimately deciding whether to continue using it.
Creating a user journey map can help businesses identify pain points in the user experience and make improvements to increase customer satisfaction and loyalty. By mapping out the user's journey, businesses can gain a better understanding of their customers' needs and preferences, and tailor their products or services accordingly. User journey maps can also be used to identify opportunities for upselling or cross-selling, as well as areas where additional support or resources may be needed to enhance the user experience.
Why Create a User Journey Map?
By mapping out the user's journey, you can identify pain points and opportunities for improvement in the user's experience. It can also help you understand how users interact with your product or service so you can make informed design decisions that align with your users' needs and goals.
Another benefit of creating a user journey map is that it can help you prioritize features and functionality based on the user's needs. By understanding the user's goals and pain points, you can focus on the most important aspects of your product or service and ensure that they are optimized for the user's experience.
Additionally, a user journey map can be a valuable tool for collaboration and communication within your team. By visualizing the user's experience, you can facilitate discussions and brainstorming sessions that lead to better solutions and a more cohesive understanding of the user's needs.
How User Journey Maps Help Improve User Experience
User journey maps help you gain empathy for your users by putting yourself in their shoes and understanding their emotions, aspirations, and pain points. They also enable you to identify the touchpoints where the user experience can be improved by addressing these issues and creating more meaningful interactions.
Another benefit of user journey maps is that they can help you prioritize which areas of the user experience to focus on first. By identifying the pain points and areas of frustration for users, you can determine which touchpoints are most critical to address in order to improve the overall experience.
Additionally, user journey maps can be used to align stakeholders and teams around a shared understanding of the user experience. By visualizing the user journey and highlighting areas for improvement, everyone involved in the project can have a clear understanding of the goals and objectives for improving the user experience.
Understanding the Different Stages of a User's Journey
A user journey typically includes the following stages:
- Awareness: The user becomes aware of the product or service.
- Consideration: The user evaluates whether the product or service is worth using.
- Purchase: The user decides to purchase the product or service.
- Usage: The user engages with the product or service.
- Loyalty: The user becomes loyal to the product or service and continues to use it.
Understanding these stages is important because it provides a framework to structure your user journey map.
However, it's important to note that not all users will follow this linear path. Some users may skip certain stages or repeat them multiple times before making a purchase or becoming loyal to a product or service. It's important to keep this in mind when creating your user journey map and to be flexible in your approach to accommodate for different user behaviors.
Gathering Insights for Your User Journey Map
The first step in creating a user journey map is to gather insights. This can be done in a variety of ways, such as conducting user interviews, surveys, or usability tests. The goal is to understand how users interact with your product or service, what their pain points are, and what their expectations and needs are.
Another effective way to gather insights for your user journey map is to analyze user data. This can include data from website analytics, customer support interactions, and social media engagement. By analyzing this data, you can gain a deeper understanding of how users are interacting with your product or service, and identify areas where improvements can be made to enhance the user experience.
Identifying Pain Points and Opportunities for Improvement
Once you have gathered insights, the next step is to identify pain points and opportunities for improvement. Pain points are areas where users experience frustration, confusion, or other negative emotions while interacting with your product or service. Opportunities for improvement are areas where the user experience can be enhanced.
One effective way to identify pain points and opportunities for improvement is to conduct user testing. This involves observing users as they interact with your product or service and noting any areas where they struggle or encounter difficulties. User testing can provide valuable insights into how users actually use your product or service, as opposed to how you think they use it. This information can then be used to make targeted improvements that address specific pain points and enhance the overall user experience.
Sketching Out Your User Journey Map
The next step is to sketch out your user journey map. This can be done on paper or using a digital tool like Figma. Start by laying out all the touchpoints in the user journey, and then add details like emotions and pain points associated with each touchpoint. Use visual aids like icons, colors, or illustrations to make your map more engaging and visually appealing.
Using Figma to Create Your User Journey Map
Figma is a powerful design tool that makes it easy to create user journey maps. To create a user journey map in Figma, start by creating a new project and then select the "User Journey Map" template. This will give you a pre-built framework to work with, including sections for each stage of the journey and space to add details.
Adding Details to Your User Journey Map in Figma
Once you have your template set up, it's time to start adding details to your user journey map. Use text boxes to describe each touchpoint in the user journey, and add icons or illustrations to make the map more engaging. Use colors to indicate positive and negative emotions or to distinguish different user personas if applicable.
Tips for Creating a Clear and Effective User Journey Map
Some tips for creating a clear and effective user journey map include:
- Be concise and use clear language to describe touchpoints.
- Use visual aids like icons, illustrations, and colors to make the map more engaging.
- Consider breaking the map up into different sections for different user personas or segments.
- Focus on the user's emotions and pain points to make the map more relatable and empathetic.
Sharing and Collaborating on Your User Journey Map in Figma
Figma makes it easy to collaborate on your user journey map with other team members. Use the "Share" feature to invite collaborators or stakeholders to view and comment on your map. You can also use Figma's intuitive commenting and feedback tools to gather feedback and make revisions to your map.
Using Your User Journey Map to Improve Your Product or Service
Once you have created and refined your user journey map, it's time to put it to work. Use the insights you have gained to make informed design decisions and improvements to your product or service. Incorporate user feedback and iterate on your design based on your user journey map to create a more seamless and satisfying user experience.
Examples of Successful User Journey Maps
Some examples of successful user journey maps include:
- Spotify's user journey map, which highlights the emotional journey of users discovering and enjoying music on the platform.
- Airbnb's user journey map, which illustrates the steps that users go through when booking and using accommodations on the platform.
- Hootsuite's user journey map, which depicts the journey of social media managers using the platform to manage their social media presence.
Conclusion: Creating a User Journey Map in Figma is Essential for UX Design
In conclusion, user journey maps are a powerful tool for understanding and improving the user experience of your product or service. By creating a user journey map using Figma, you can gain empathy for your users, identify pain points and opportunities for improvement, and ultimately create a more satisfying and seamless user experience. Use the tips and insights in this article to create your own effective user journey map and elevate your UX design to the next level.


